How to Add or Remove an Agent from a Queue
In order to add or remove agent(s) to the queue, please follow the steps below:
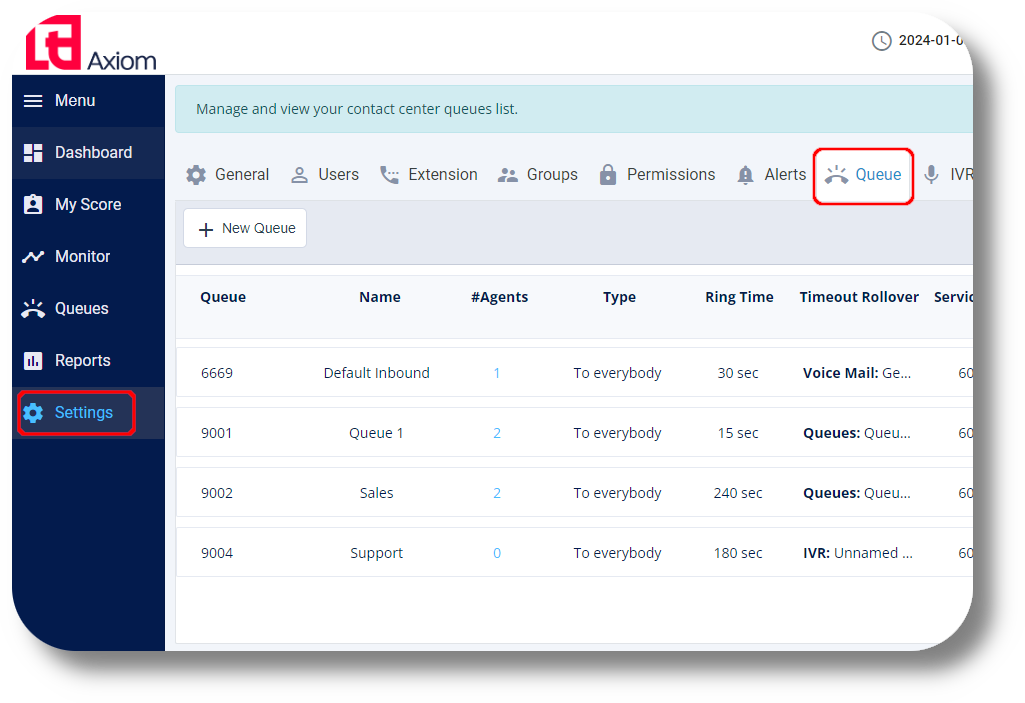
1. Click on "Settings" and the on "Queues":
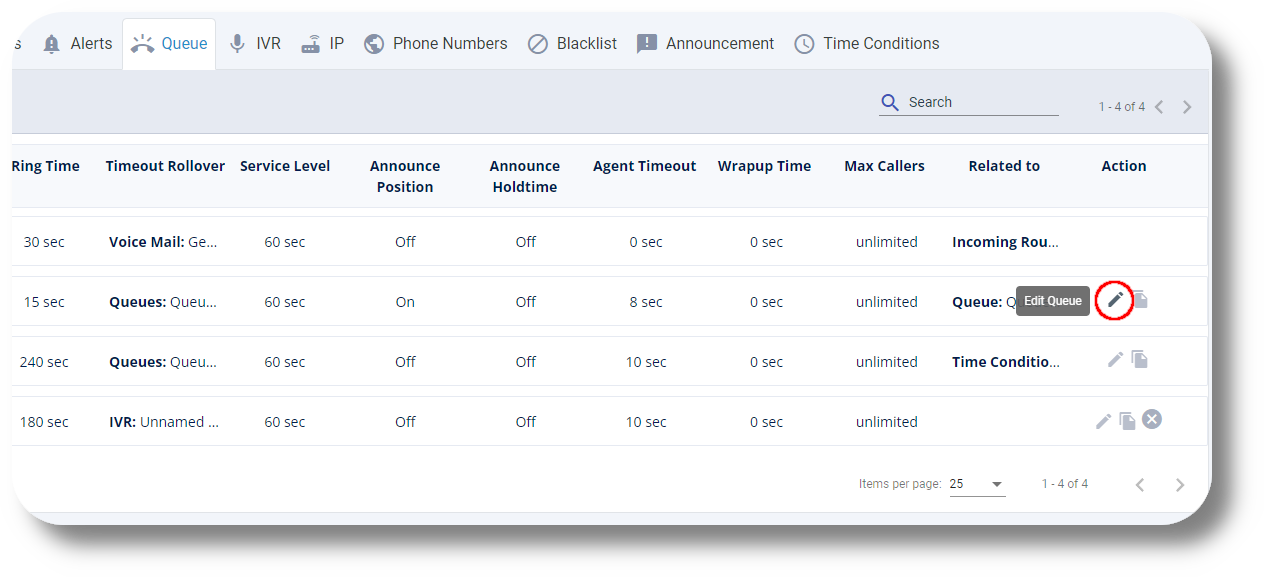
2. Click the on the right of the Queue you want to add or remove the agents to from:
3. In the new window that pops up head over to the Agents tab and simply drag the agent from the left column (All extensions) to the right one (Chosen extensions) or drag them from the right tab (Chosen extensions) to the left one (All extensions) to remove them, after which click Save:
2. Click the
3. In the new window that pops up head over to the Agents tab and simply drag the agent from the left column (All extensions) to the right one (Chosen extensions) or drag them from the right tab (Chosen extensions) to the left one (All extensions) to remove them, after which click Save:
Related Articles
How to Add or Remove Agents from a Queue
How to Add or Remove Agents from a Queue Queues in the Squaretalk Platform allow you to distribute inbound calls across multiple agents. To keep queues working efficiently, managers and admins can easily add or remove agents at any time. This guide ...How to Create or Edit an Inbound Route
How to Create or Edit an Inbound Route An Inbound Route controls what happens when a customer calls one of your business phone numbers. It defines the customer’s call journey, whether the call goes to a queue, IVR menu, specific agent, or follows ...How to Create or Edit a Queue (General)
How to Create or Edit a Queue (General) A Call Queue helps you organize how inbound calls are handled when multiple agents are available. Step-by-Step: Create a New Queue Go to Settings → Voice → Queues and click “+ Add Queue”. ?Useful Tip 1: To ...How to Configure and Manage Call Wrap-Up Per Queue
How to Configure and Manage Call Wrap-Up Per Queue Call Wrap-Up allows you to control what happens after an agent finishes a call. When enabled for a queue, agents must complete a post-call form before returning to their previous status. This ensures ...Reset Agent Password
To reset an agents password please follow the steps below: 1. Click on "Users" from the menu on the left: 2. Click on the user you wish to reset the password for: 3. Click on "Edit" so you can make changes to the agents details: 4. Click on the ...