Settings - Communication - Ext creation & Phone number management
This article will provide you an overview of the Communication section and functionality within the Settings of Matrix
Extension Creation and management:
1. Navigate to your Matrix settings by clicking "Settings" on the left-hand side:
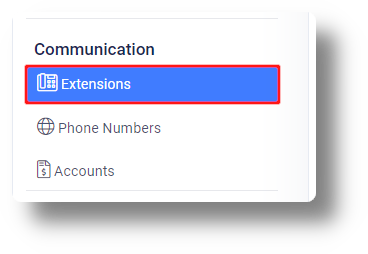
2. Under the Communications tab, click "Extensions" to access the extension settings:
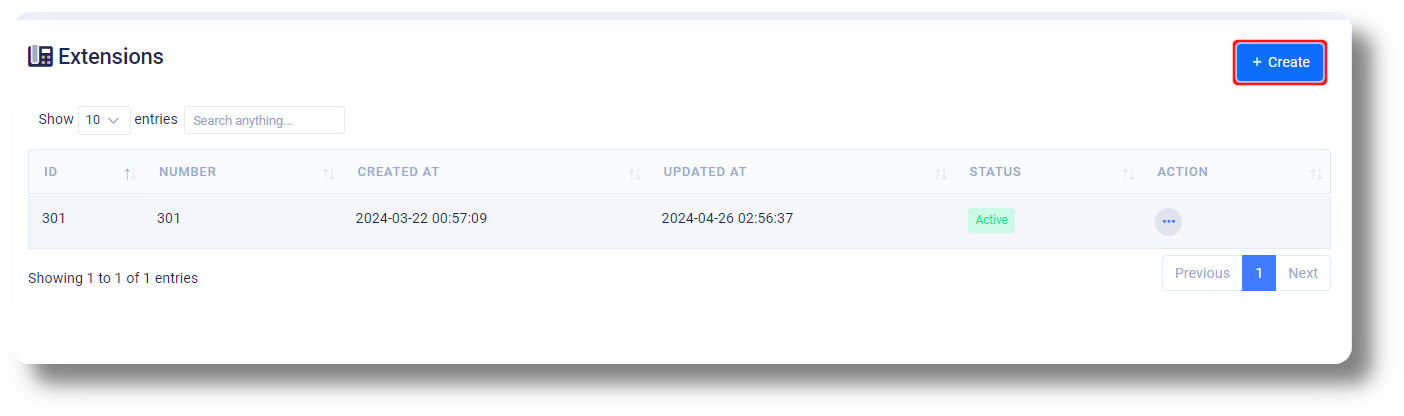
3. From here you can manage your current extensions and create additional ones:

4. Click "Create" to initiate the creation of a new extension:
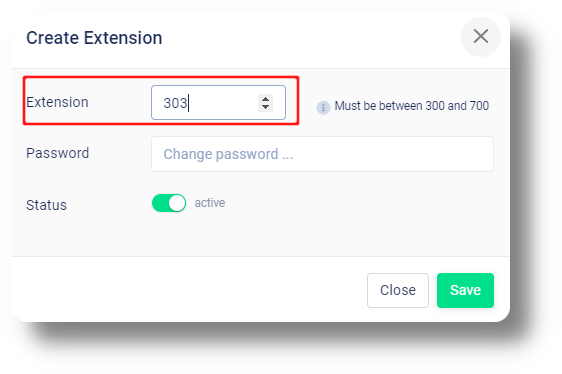
5. Specify the extension number (between 300 and 700):
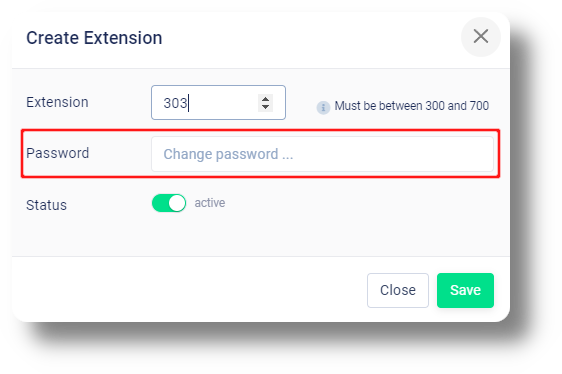
6. Choose a password by clicking the "Change password..." field:
7. Set the extension to "Active" and click "Save":
3. From here you can manage your current extensions and create additional ones:
4. Click "Create" to initiate the creation of a new extension:
5. Specify the extension number (between 300 and 700):
6. Choose a password by clicking the "Change password..." field:
7. Set the extension to "Active" and click "Save":
Phone number management/configuration:
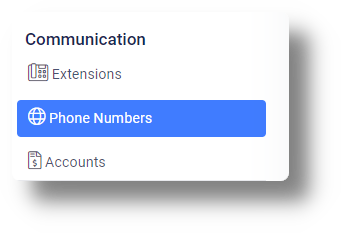
1. Click on "Phone numbers":
2. From here you can you can view your current DID/Phone numbers and manage them by clicking on the configuration button for the respective group:
3. From here you can manage the outbound settings for the selected numbers:
4. Enabling the route option will allow you to route the calls to a menu and give you the option to create one:
Here you will be able to define and create the call menu as you require as well as create multiple options for callers when pressing certain menu numbers and specify their routes:
5. The "Drop Action" allows to specify what happens to call when there are no available agents to receive it:

Follow me: Allows you to forward the call to a number
Hangup: Drops the call
Agent: Allows you to specify a specific agent to send the call to
Voicemail: Allows you to send the call to a voicemail
6. The "Call times" allows you to set a rule during which times calls can be made:
Here you can select your rule name. Note: For each rule you can define a set of countries, each country has its own calling time condition consisting days and hours. To apply these call schedules in your campaign, please choose your rule in the field Call Times Note: These rules will not affect Manual Dial and Callbacks Note: The select period time is the current time in the selected country7. You can also set up and upload your own "Welcome Message":
This is the welcome message that the leads will hear when calling numbers within in this group
8. You can also set up hold music and upload your own:
9. Assign a default campaign for new leads by clicking "Default Campaign New Lead":
Inbound Configuration/Inbound Rules:
1. Click on "Inbound Rules" and the "+" button to create a inbound rule:
2. Choose how calls are distributed among agents by clicking here:
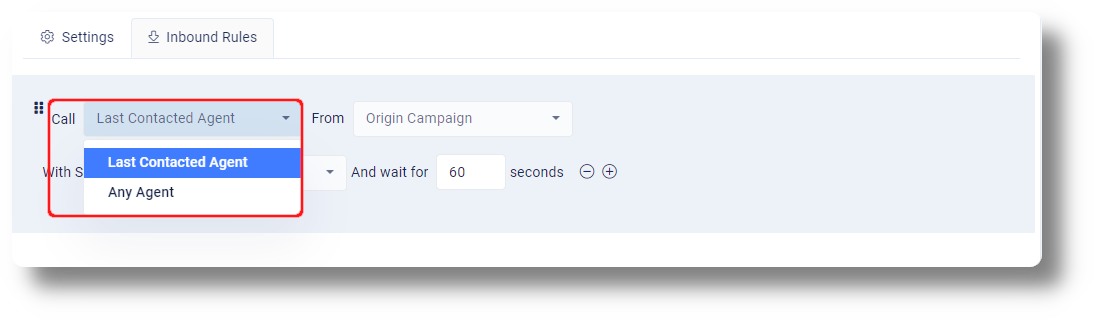
3. Choose the campaign for call routing from the 'From' drop-down menu:
4. Specify agents with a particular status for call routing:
5. Finally set up the waiting seconds as required and click "Save" to apply the rule or "+" add additional rules:
Video Guide:
Related Articles
How to Blacklist a Phone Number
How to Blacklist a Phone Number The Blacklist feature helps you block unwanted communication and protect your teams from spam, harassment, or compliance risks. It’s also commonly used for maintaining Do Not Call (DNC) restrictions. ? Note: Admin ...How to Create or Edit a Queue (General)
How to Create or Edit a Queue (General) A Call Queue helps you organize how inbound calls are handled when multiple agents are available. Step-by-Step: Create a New Queue Go to Settings → Voice → Queues and click “+ Add Queue”. ?Useful Tip 1: To ...Phone Numbers Report
Phone Numbers Report The Phone Numbers Report in the Squaretalk Platform helps you track and analyze all call activity per phone number. This report is useful for supervisors, admins, and operations teams who want to monitor: call volume per number ...How to Create a User
How to Create a User To give someone access to the Squaretalk Platform, you need to create a User profile. Each user is automatically assigned an Extension during setup, so you no longer need to create extensions separately. This guide explains how ...How to Edit or Delete a User
How to Edit or Delete a User As your team grows or roles change, you may need to update user details, adjust permissions, or remove inactive accounts. ? Note: Admin permissions are required to access user settings. Step-by-Step: Edit a User Go to ...