Settings - Organization
This article will provide you more details and information regarding the Organization settings section for Matrix:
General
1. Navigate to the Settings tab on the left-hand side and click on General:
2. On this page, you can select the Time Zone for your server by clicking on the drop down menu, once selecting click Save to apply.
 Note: This selection does not impact the current values in the database, as date-time values are stored in UTC.
 Date-time values (reports, monitors, etc.) will be displayed based on the user's local settings, specifically related to inbound calls:
Groups
1. Navigate to the Groups settings tab by clicking "Groups":

2. From here you can manage your current groups as well as create new ones:

3. Create a new group by clicking on the 'Create' button:

4. Name your group in the "Group name" field:
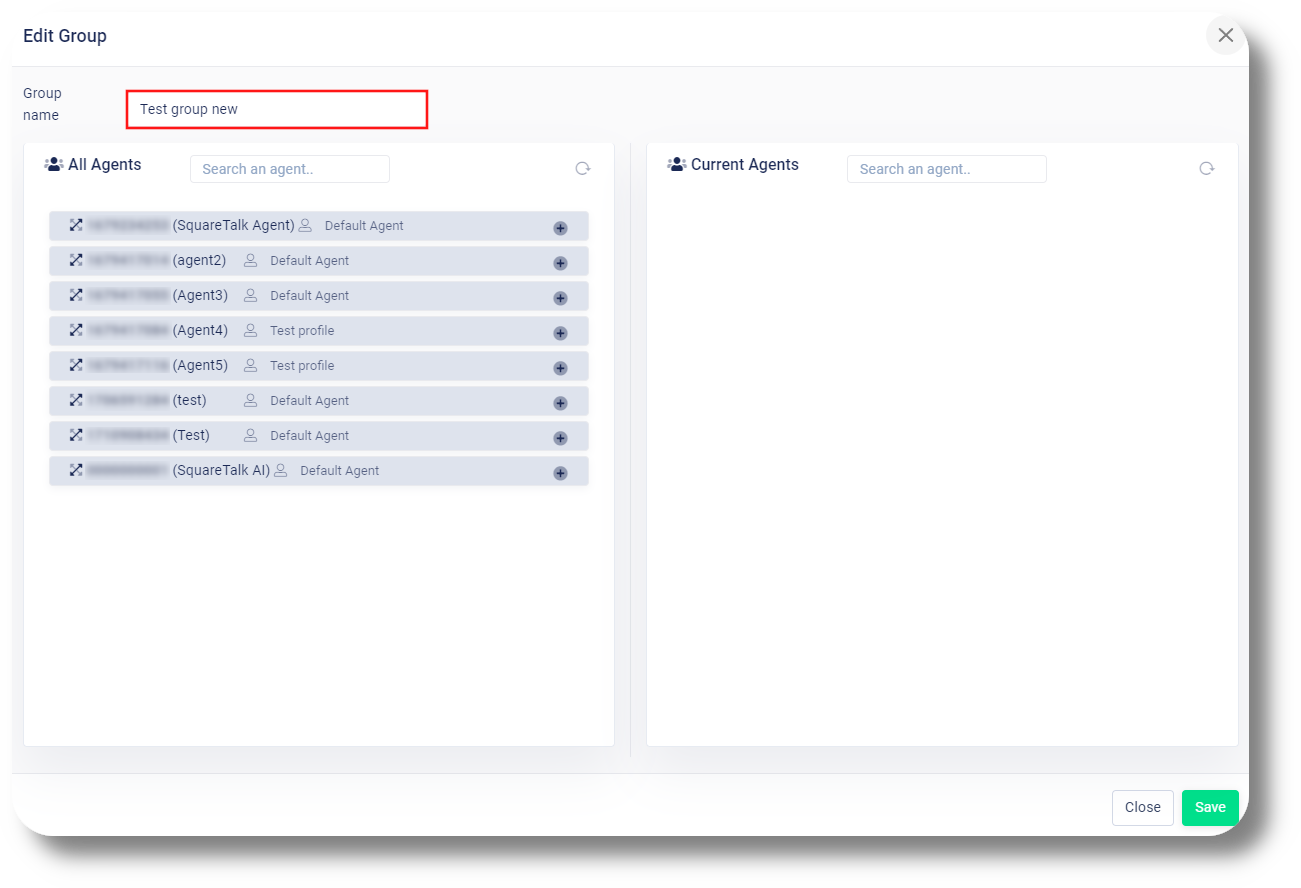
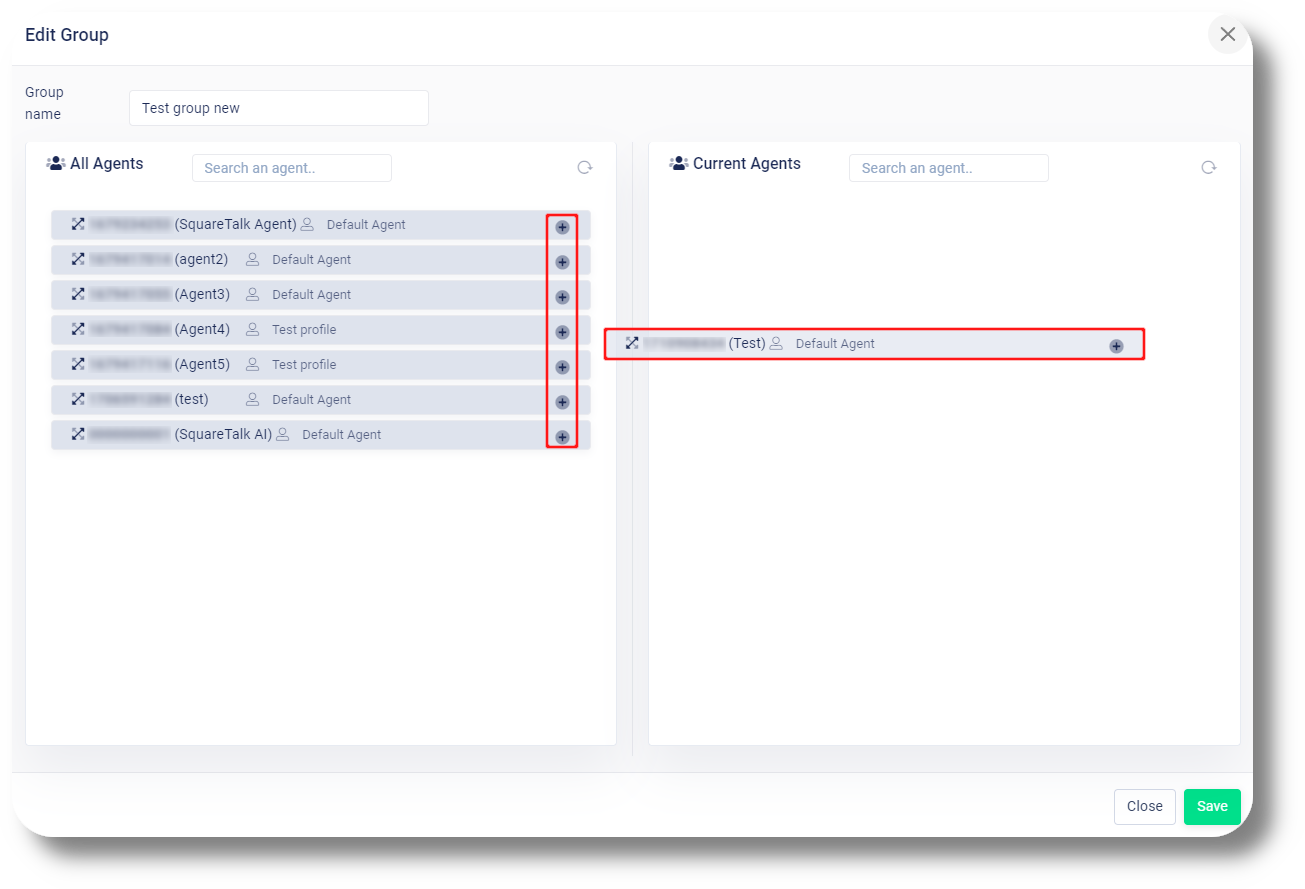
5. Add agents to the group by dragging them over or clicking on the "+" on the right of them, once done click "Save" to create the group:
2. From here you can manage your current groups as well as create new ones:
3. Create a new group by clicking on the 'Create' button:
4. Name your group in the "Group name" field:
5. Add agents to the group by dragging them over or clicking on the "+" on the right of them, once done click "Save" to create the group:
Roles & Permissions
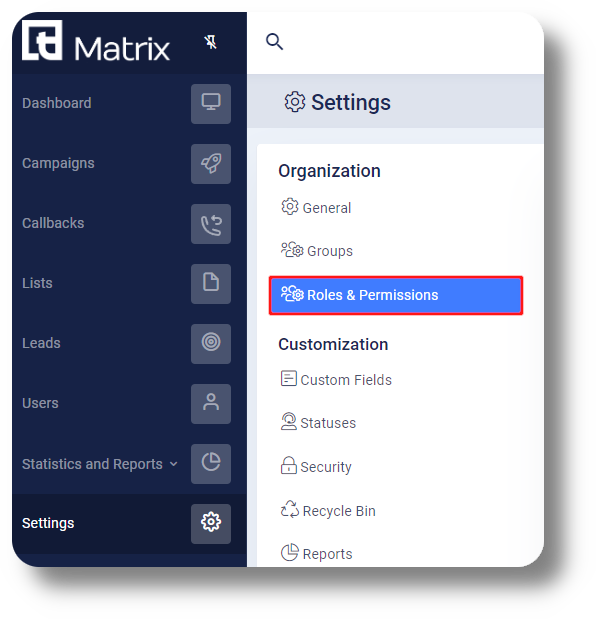
1. Navigate to the Roles and Permissions settings tab by clicking "Roles & Permissions":
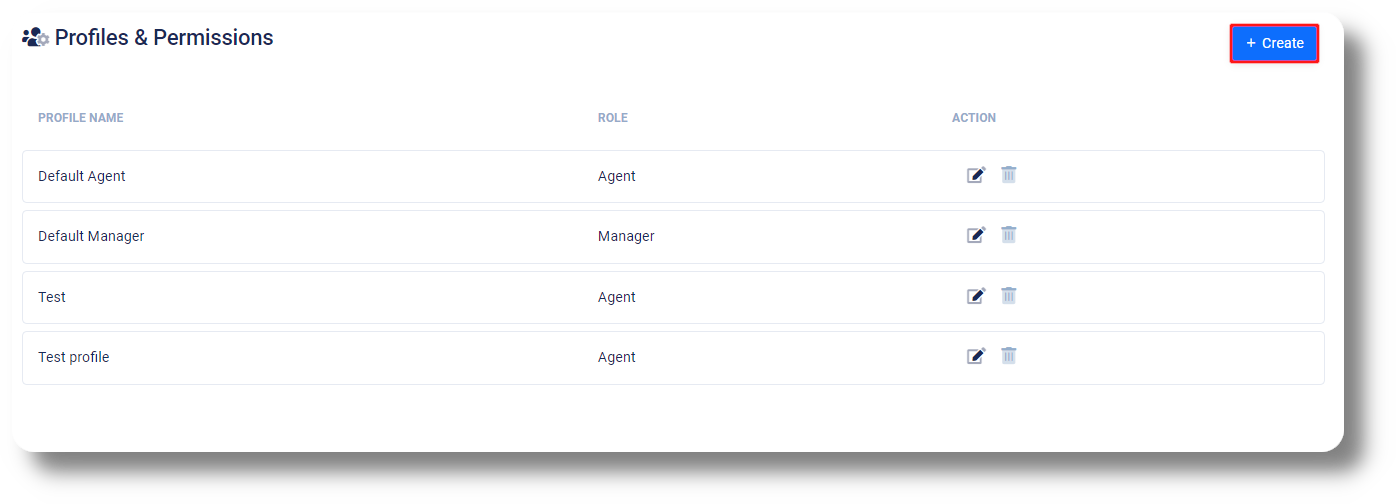
2. From here you can manage your existing profiles and their permissions from the action column as well as create new ones:
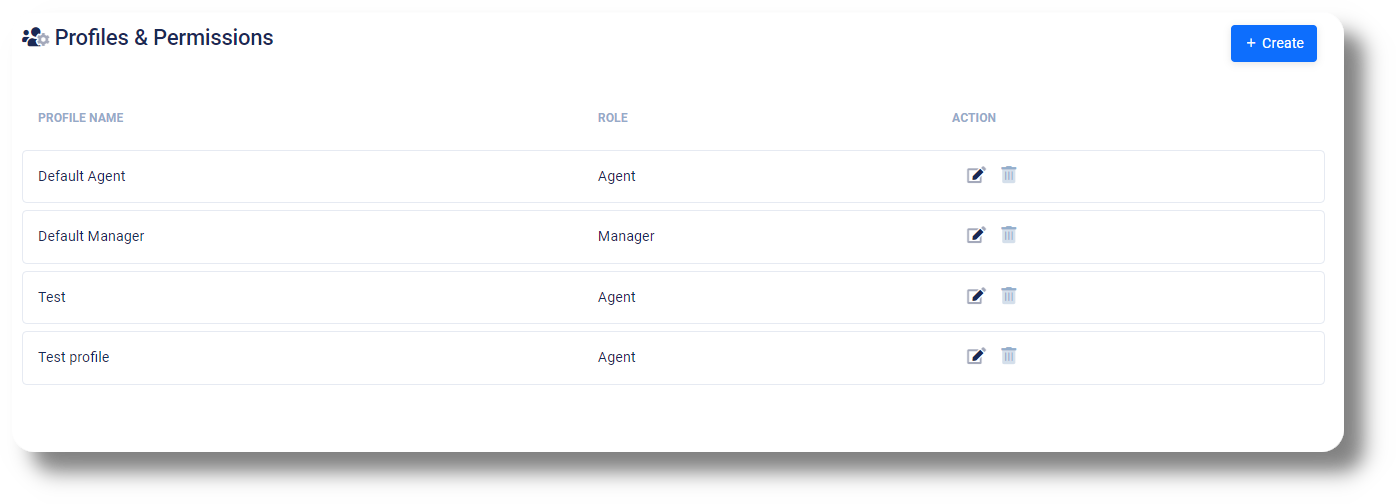
3. To create a new profile click on the "+Create" button:
4. Select the role name which will specify if the profile will be an Agent or Manager one as well as give it a name of your choice:
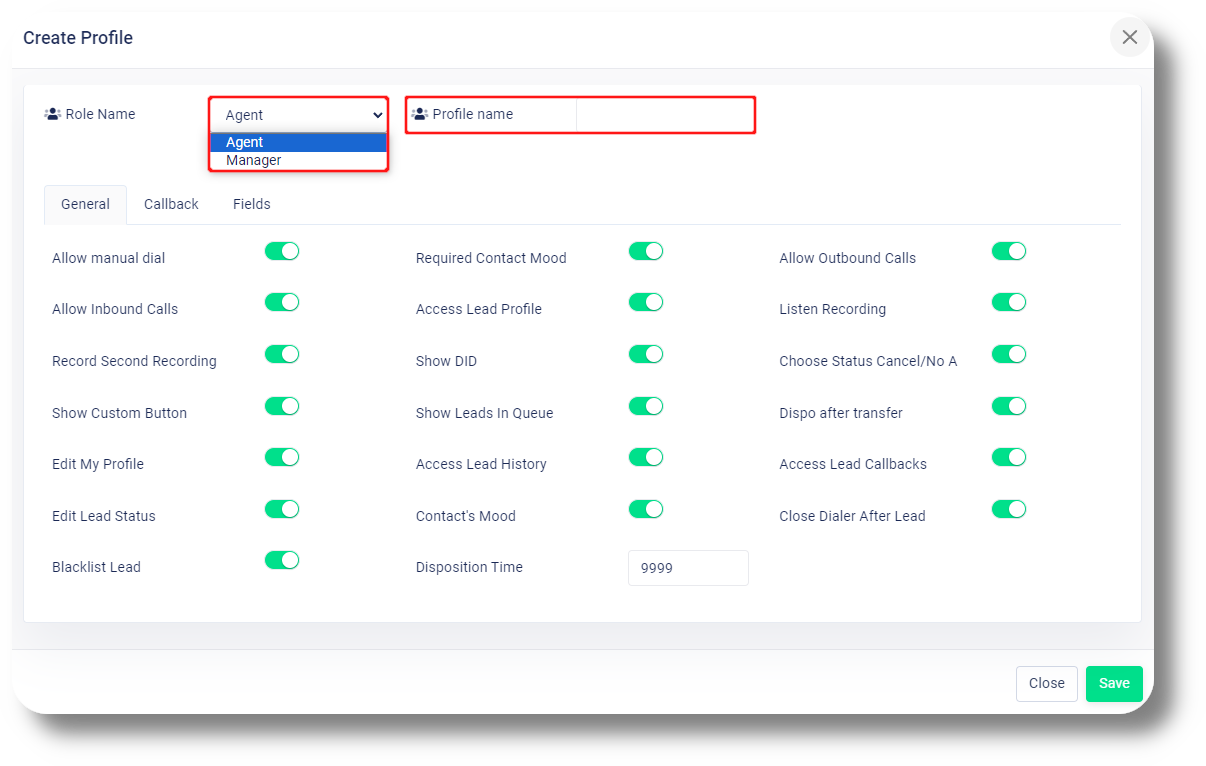
5. Select the permissions you want to grant to the new role. Activating the switch provides the role with the right to perform specific actions or monitor particular KPIs:
2. From here you can manage your existing profiles and their permissions from the action column as well as create new ones:
3. To create a new profile click on the "+Create" button:
4. Select the role name which will specify if the profile will be an Agent or Manager one as well as give it a name of your choice:
5. Select the permissions you want to grant to the new role. Activating the switch provides the role with the right to perform specific actions or monitor particular KPIs:
6. You can also specify the amount of callbacks agents can make from the Callbacks section under their respective Role and Profile:
Video Guide:
Related Articles
Settings - Permissions
This article will provide you with an overview of the Permission section, functionality as well as how to create a custom one: You will be able to see the settings tab only if you have admin rights. 1. Click Settings to navigate to the settings page ...How to Create Custom Roles
How to Create Custom Roles The Squaretalk Platform includes default permission levels like Agent, Manager, and Admin. However, if you need more control, you can create Custom Roles to define exactly what users can and cannot access. ? Note: Admin ...How to Configure Callback for Queues
How to Configure Callback for Queues The Callback feature allows callers to request a callback instead of waiting in a queue. This improves customer experience and reduces queue congestion. Callback is configured per queue and gives you full control ...Callbacks
This article will provide you an overview of the Callbacks section and it's functionality: 1. Navigate to the callbacks menu by selecting "Callbacks" on the left-hand side: 2. Search for a specific callback using the "Search anything..." field: 3. ...How to Edit or Delete a User
How to Edit or Delete a User As your team grows or roles change, you may need to update user details, adjust permissions, or remove inactive accounts. ? Note: Admin permissions are required to access user settings. Step-by-Step: Edit a User Go to ...