Settings - IP/Whitelist IP
This article will show you an overview of the IP Settings of Axiom as well as how to whitelist an IP:

NOTE: You will be able to see the settings tab only if you have admin rights.
Additional Information: Every user must have their IP whitelisted in order to access the dashboard and/or use the Softphone.
If a user is receiving a message: "Please connect your phone in order to sign in." they must first login in to their Softphone before accessing the dashboard.
To remove this requirement you will have to disable the Force Login option currently enabled for their user, which can be done from the Settings>Users section and clicking on the button on the right of the respective user. Afterwards change the "Force Login" option from "True" to "False".
If a user is receiving a message: "Please connect your phone in order to sign in." they must first login in to their Softphone before accessing the dashboard.
To remove this requirement you will have to disable the Force Login option currently enabled for their user, which can be done from the Settings>Users section and clicking on the
1. Click "Settings" and navigate to the "IP" section:
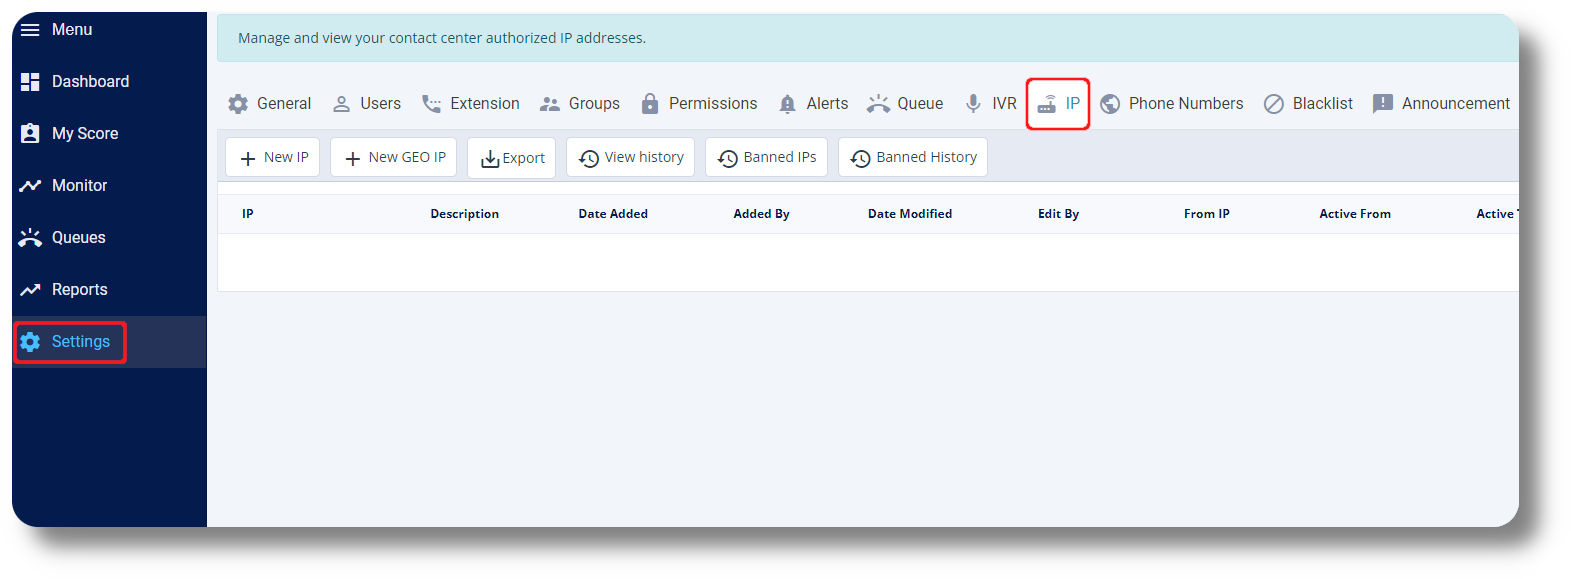
2. Click "New IP" to whitelist a new IP:
3. Enter the IP, description and specify the date when this should be applied for as well as the type of access and click "Save":

WEB - Allows from the browser without using any type of phone/phone application
PHONE - Allows only for softphone or IP phones
WEB PHONE - Allows access from the browser and connecting a web phone/phone
INTEGRATION - Allows browser access and API requests
ALL - Allows browser access, API, web phone, softphone and IP phone
PING - Allows testing the response from server ping
4. To whitelist a country wide IP click on "New GEO IP":
5. Specify the country you would like to whitelist, a description, activity date as well as the type of access and click "Save":
WEB - Allows from the browser without using any type of phone/phone application
PHONE - Allows only for softphone or IP phones
WEB PHONE - Allows access from the browser and connecting a web phone/phone
INTEGRATION - Allows browser access and API requests
ALL - Allows browser access, API, web phone, softphone and IP phone
PING - Allows testing the response from server ping
6. From the "View History" tab you can view all the previously whitelisted IP's:

7.From the "Banned IP's" you can see any currently IP's that have been banned:
8. From the "Banned History" you can view the history of any IP's that have been banned:
You can also use the "Export" function to export a list of the IP's
Related Articles
How to Whitelist an IP Address
How to Whitelist an IP Address IP Whitelisting creates a digital security fence around the Squaretalk Platform. By restricting access to approved IP addresses or geographic regions, you can prevent unauthorized login attempts and device registrations ...Settings - Customization
This article will provide you an overview of the Customization settings of Matrix: Custom Fields 1. To create and manage Custom Fields, navigate to the Matrix settings by selecting "Settings" on the left-hand side of the menu: 2. Access the custom ...Whitelist IP
This article will provide you more details and information regarding how to whitelist an IP in Matrix: 1. Navigate to the Settings section and then Security tab: 2. Next click on "Create" under the IP List section: 3. Next input your IP you wish to ...How to Deactivate or Restore an IP
How to Deactivate or Restore an IP IP rules help secure your Squaretalk account by limiting access to approved networks only. This guide explains how to deactivate and restore IP rules safely. ? Note: Admin permissions are required to access IP ...How to Allow Browser Pop-ups
Sometimes you may require to have pop-ups allowed in order to complete certain actions, such as payments. 1. Open Google Chrome and click on the 3 dots on the top right and select "Settings": 2. Click on "Privacy and security" and then "Site setting" ...