Settings - Customization
This article will provide you an overview of the Customization settings of Matrix:
Custom Fields
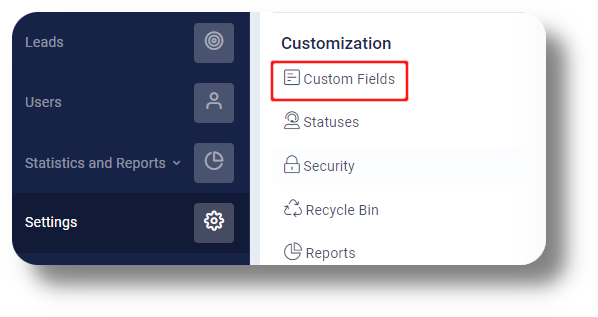
1. To create and manage Custom Fields, navigate to the Matrix settings by selecting "Settings" on the left-hand side of the menu:
2. Access the custom fields section by clicking "Custom Fields":
3. From here you can manage all your current "Custom Fields" as well as create new ones:
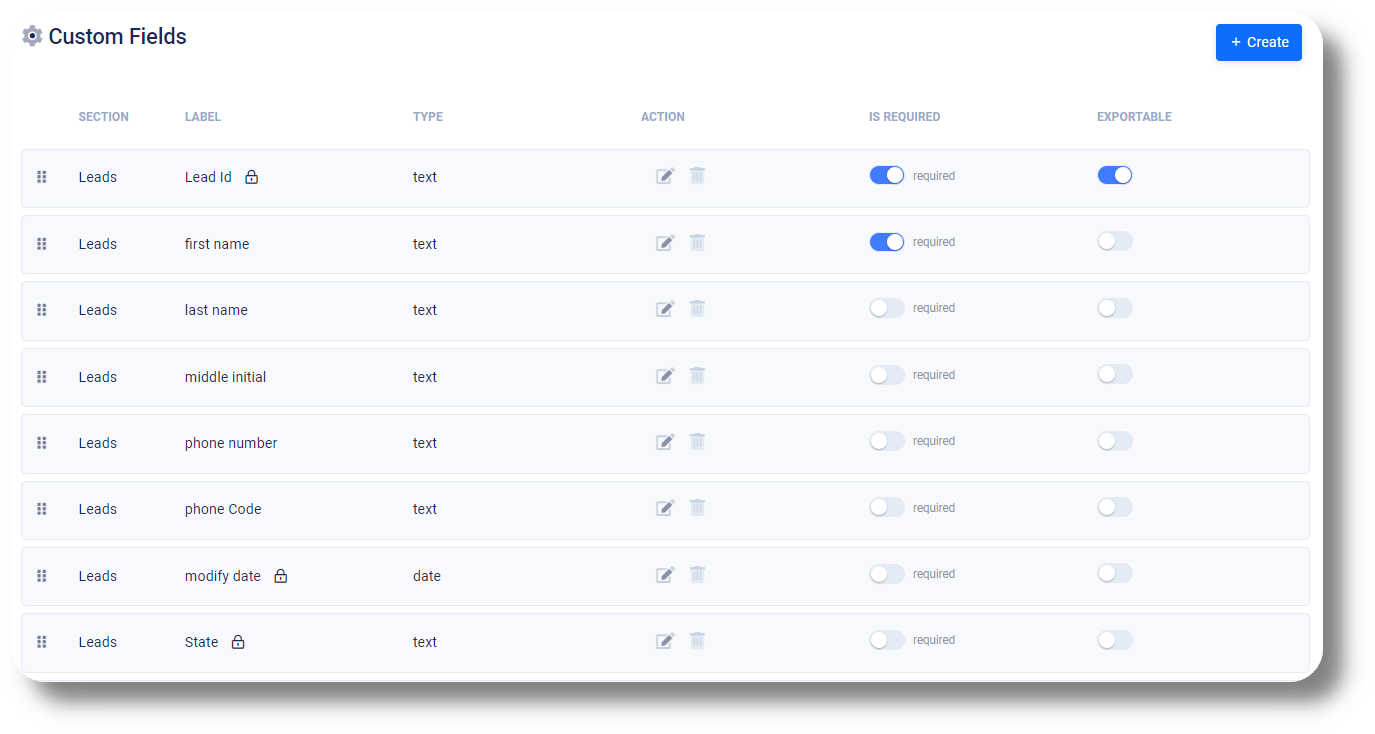
4. From the "Action" column you either edit or delete an existing Custom Field, as well as specify it as a requirement for leads and allow the ability for it to be exportable:
3. From here you can manage all your current "Custom Fields" as well as create new ones:
4. From the "Action" column you either edit or delete an existing Custom Field, as well as specify it as a requirement for leads and allow the ability for it to be exportable:

Default fields can not be edited or deleted.
5. To create a custom field, click on the "+Create" button:
6. In the new window specify the label (Field Title) then select the Field Type and click "Save":

Text: Defines a one-line text input field.
Number: Defines a numeric input field. You can also set restrictions on what numbers are accepted.
Number: Defines a numeric input field. You can also set restrictions on what numbers are accepted.
Date: Is used for input fields that should contain a date.
Date Time: Specifies a date and time input field, with no time zone.
Email: Is used for input fields that should contain an e-mail address.
Email: Is used for input fields that should contain an e-mail address.
Link: A field with a link to an external page.
Text area: Represents a field for multi-line text input. The control associated to this field is a text box that allows users to edit multiple lines of plain text.
Select: Is a control that provides the ease of selecting one choice from the list.
Multi Select: Is a control that provides the ease of selecting multiple choice from the list
Statuses
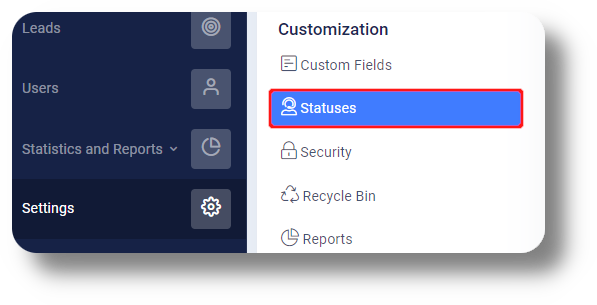
1. Click on the Statuses section:
2. From here you can manage and create your Pause and Lead statuses:
2. From here you can manage and create your Pause and Lead statuses:
Pause statuses: Are statuses for your agents to use when taking a break
Lead statuses: Are deposition statuses which the agents can select after completing a call with
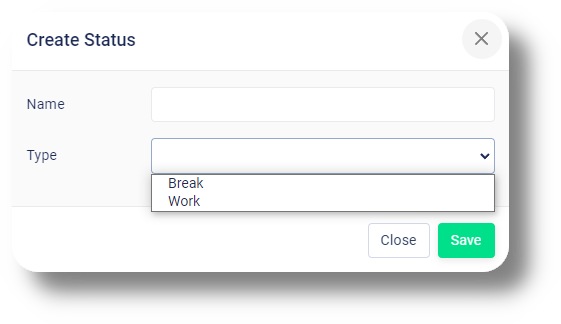
3. You can manage your current pause statuses from the Action column by editing or deleting them. As well as to create a new one simply click the "+Create" button:
Pause Timeout: This is displayed in minutes and is the maximum time an agent can stay in a pause status before being reset.4. Specify a name for your pause status and type and click "Save" to create one:
5. You can do the same for the Lead Statuses, edit them from the "Action" column and create a new by clicking on the "+Create" button:
5. You can do the same for the Lead Statuses, edit them from the "Action" column and create a new by clicking on the "+Create" button:
6. Specify a name for your lead status and type and click "Save" to create one:
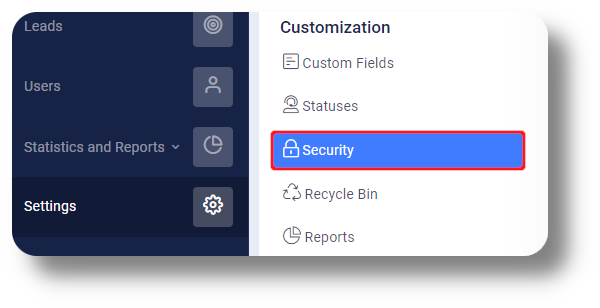
Security
1. To whitelist an IP navigate to the "Security" section:
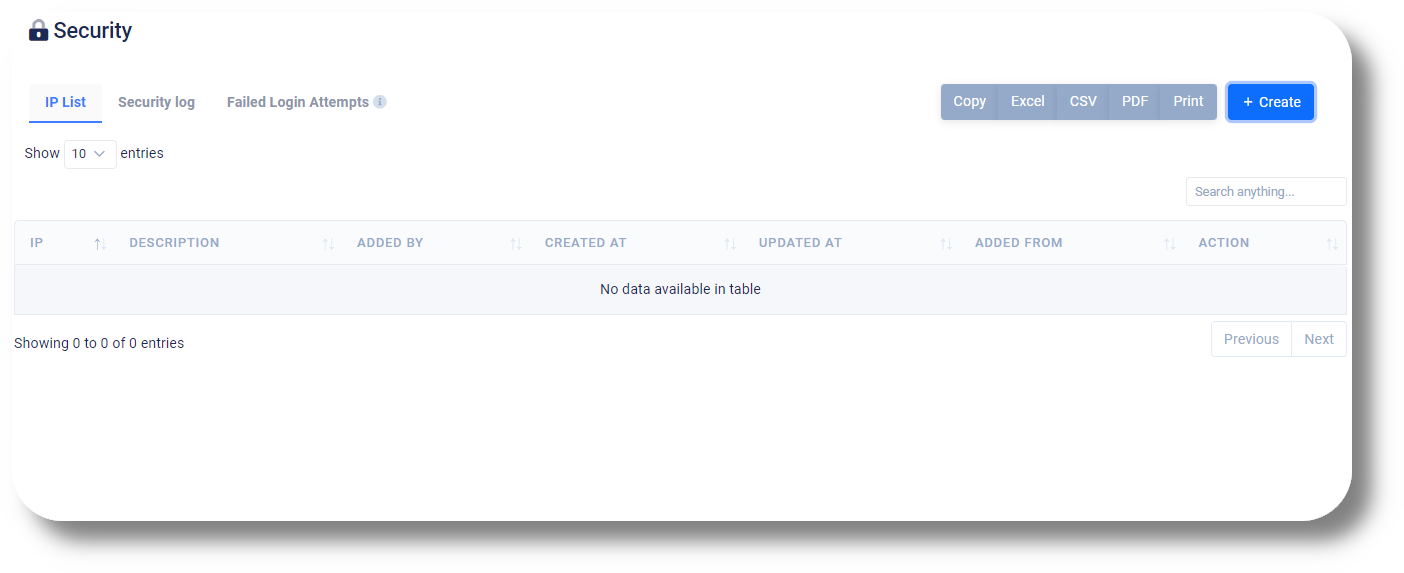
2. From here you can whitelist IP's, view the security log and failed login attempts report:
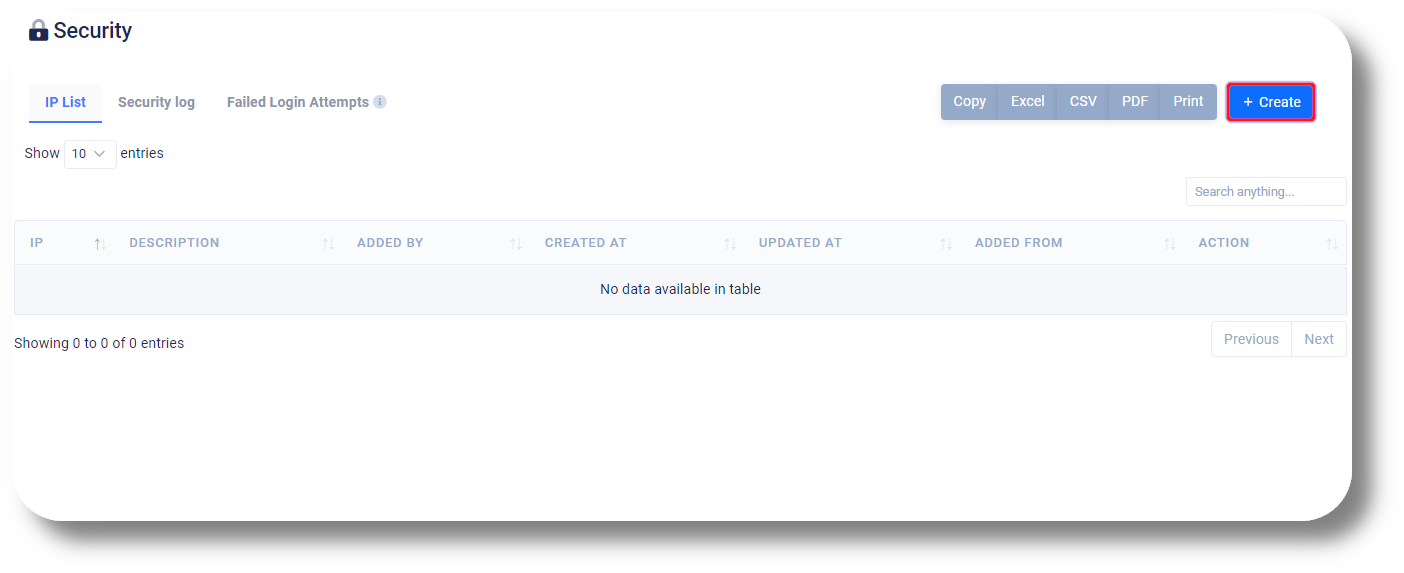
3. Click the "+Create" button to whitelist an IP:
4. Specify the IP you would like to whitelist and a description:
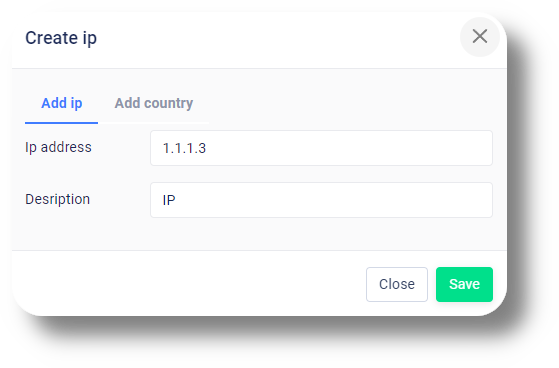
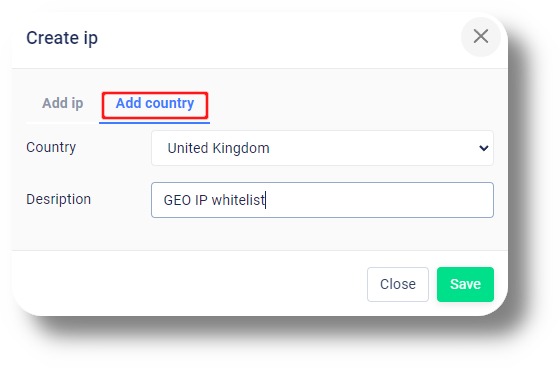
5. Alternatively you can whitelist a GEO wide IP from the "Add country" section:
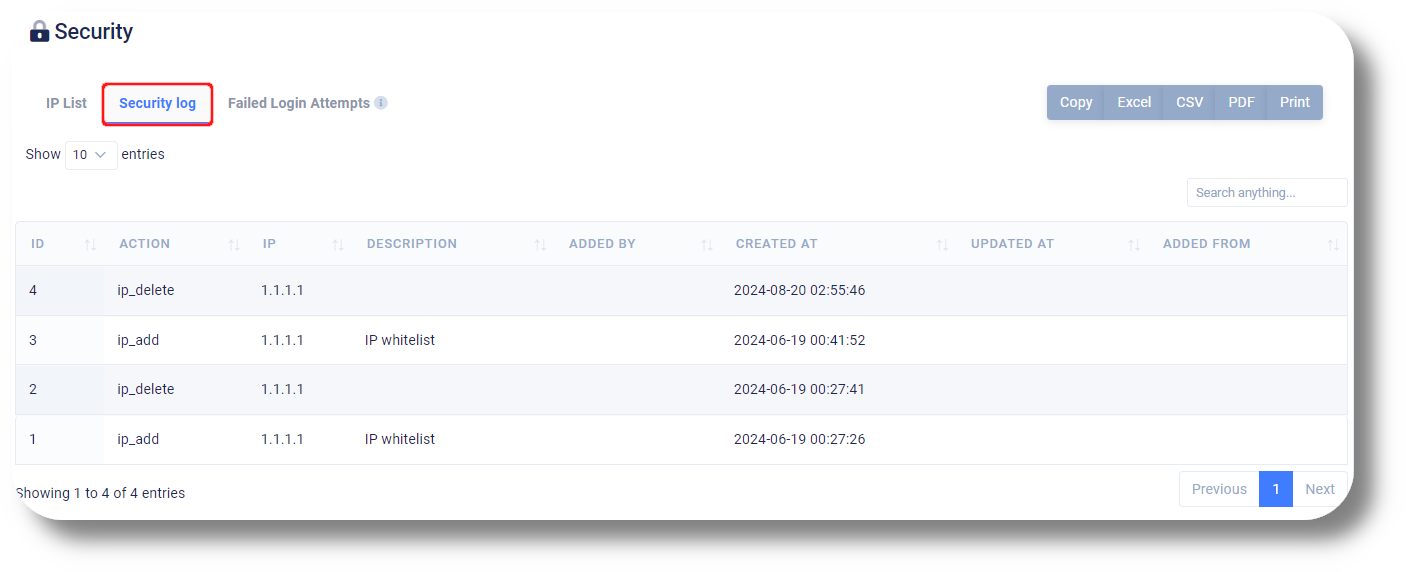
6. From the "Security Log" you can view all the changes made previously, such as other whitelists from other admins or your previous ones for example:
7. From the "Failed Login Attempts" you can review any users that failed to login, for example due to a incorrect password:

2. From here you can whitelist IP's, view the security log and failed login attempts report:
3. Click the "+Create" button to whitelist an IP:
4. Specify the IP you would like to whitelist and a description:
5. Alternatively you can whitelist a GEO wide IP from the "Add country" section:
6. From the "Security Log" you can view all the changes made previously, such as other whitelists from other admins or your previous ones for example:
7. From the "Failed Login Attempts" you can review any users that failed to login, for example due to a incorrect password:
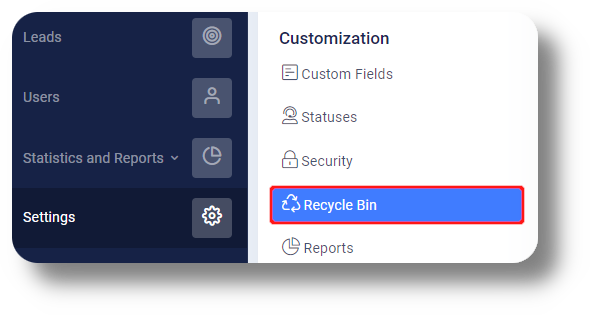
Recycle Bin
1. Click on the Recycle Bin to restore Campaigns, Lists, Leads and Users:
2. From here you can restore deleted Campaigns, Lists, Leads and Users:
2. From here you can restore deleted Campaigns, Lists, Leads and Users:
3. Navigate to which ever you would like to restore (Campaigns, Lists, Leads and Users) and click on the button next to it under the Action column:
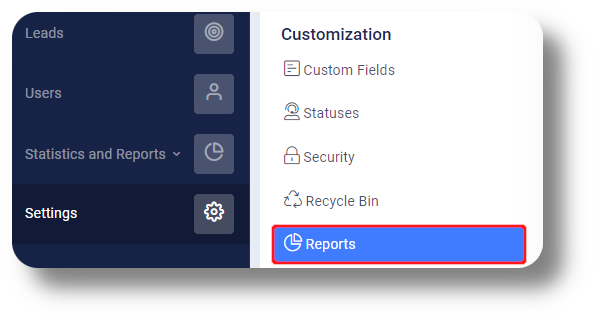
Reports/Effective Call Setting
1. Access the effective calls settings by clicking "Reports":
2. Set the parameters for effective calls, which can be monitored in the calls history reports page:
2. Set the parameters for effective calls, which can be monitored in the calls history reports page:
The time here is in seconds
Video Guide:
Related Articles
How to Create a Custom Status
How to Create a Custom Status Custom Statuses help you track your team’s real availability in a much more accurate way. Instead of seeing a generic status like Away, you can create meaningful options such as: Team Meeting Lunch Break Training Admin ...Whitelist IP
This article will provide you more details and information regarding how to whitelist an IP in Matrix: 1. Navigate to the Settings section and then Security tab: 2. Next click on "Create" under the IP List section: 3. Next input your IP you wish to ...Settings - IP/Whitelist IP
This article will show you an overview of the IP Settings of Axiom as well as how to whitelist an IP: NOTE: You will be able to see the settings tab only if you have admin rights. Additional Information: Every user must have their IP whitelisted in ...Leads
This article will provide you an overview of the Leads section and it's functionality: 1. Navigate to the leads tab by clicking "Leads" on the left-hand side: 2. Use the "Search" field to locate specific information such as phone numbers, names, or ...How to Deactivate or Restore an IP
How to Deactivate or Restore an IP IP rules help secure your Squaretalk account by limiting access to approved networks only. This guide explains how to deactivate and restore IP rules safely. ? Note: Admin permissions are required to access IP ...