How to Cancel/Delete DID's
To delete DID's (you can delete multiple DID's in a single request) please follow the following steps:
First navigate to the Billing Portal: https://portal.squaretalk.com/login and log in with your credentials.
Then navigate to the Dashboard and click on Phone Numbers under the Services section as shown below:
1. In the Phone Numbers section you will be able to see all your number assigned to your account, tick the numbers you wish to delete and click on the "Select Option" and select "Delete selected DIDs" on the top right:
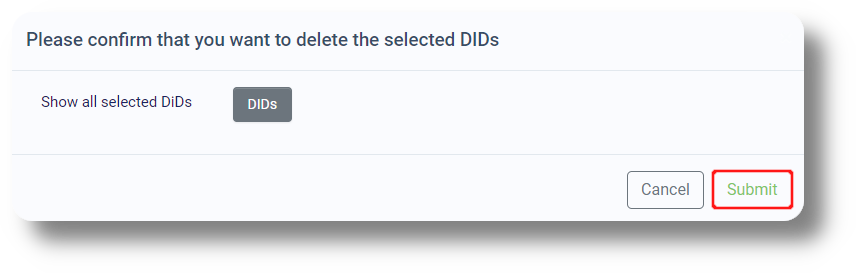
2. Afterward click Submit to complete the request:
Your request will then be submitted automatically for processing, once completed you will be informed by e-mail.
Related Articles
How to Edit or Delete a User
How to Edit or Delete a User As your team grows or roles change, you may need to update user details, adjust permissions, or remove inactive accounts. ? Note: Admin permissions are required to access user settings. Step-by-Step: Edit a User Go to ...How to Edit and Delete WhatsApp Templates
How to Edit and Delete WhatsApp Templates WhatsApp message templates in Squaretalk can be edited or deleted from the Templates page. However, editing rules depend on the template status, because WhatsApp templates are regulated by Meta. Go to ...How to Reset a User’s Password
How to Reset a User’s Password For security reasons, user passwords in Squaretalk are encrypted and cannot be viewed by anyone, including administrators. If a user forgets their password, you must reset it using one of the options below. Option 1: ...How to Change an Agent’s Status (Manager/Admin Guide)
How to Change an Agent’s Status (Manager/Admin Guide) As a Manager or Admin, you can monitor your agents’ availability and help manage live operations by updating an agent’s status when needed. This is useful when: an agent forgot to switch back to ...How to Set Your Organization’s Working Hours
How to Set Your Organization’s Working Hours Setting your organization’s Working Hours is an important configuration step that helps the Squaretalk Platform align with your real business schedule. This setting is not just for reference, it directly ...