How to create an Announcement
To set and create an Announcement, please follow the steps below:
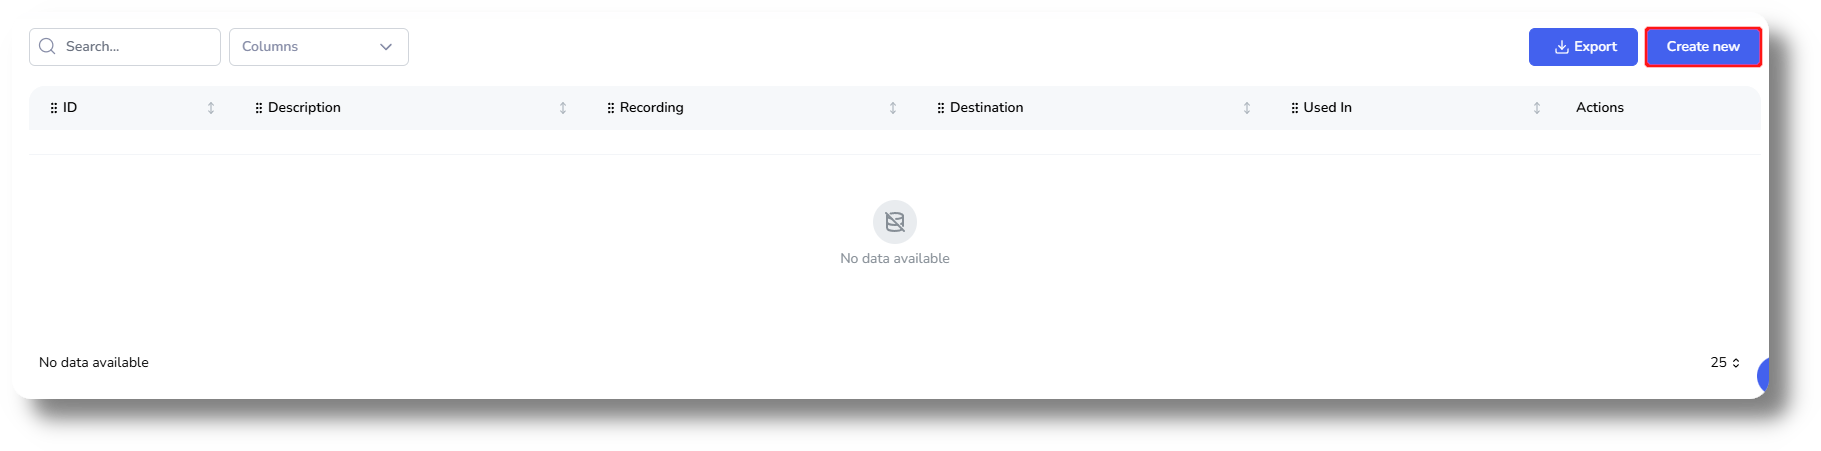
1. Navigate to the Voice section under Settings and then click on the Announcements section:
2. Create a new Announcement by clicking on the "Create new" button:
3. Modify the name of the Announcement by clicking on the "Name *" field:
4. Choose a recording by clicking on the "Recording" tab:
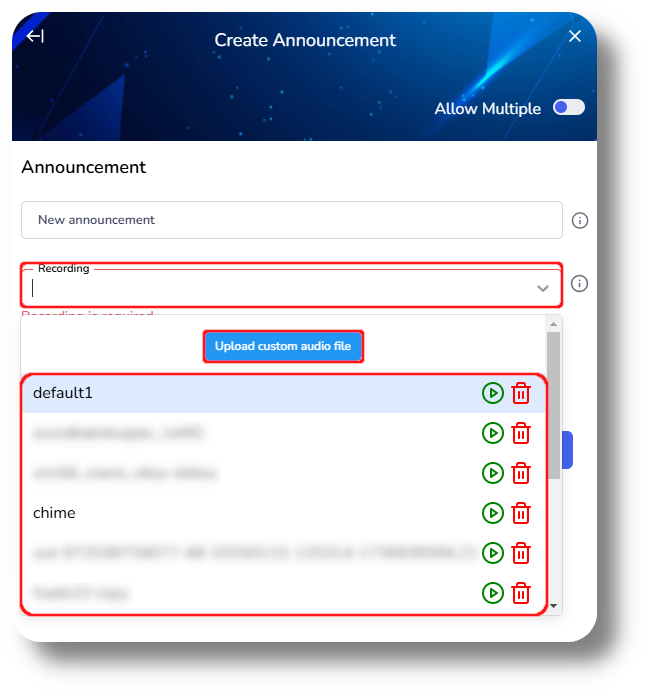

Click on "Upload custom audio file" to upload your own recording for the announcement.

Recording File requirements:
Bit: 16bit
Audio frequency: 8000Hz
Audio channels: Mono
Type: Wav
5. Select the desired destination for the recording by clicking on "Destination" and click "Create":

This is where/during when the Announcement will be played

If you do not see the option on the right of the respective Announcements to delete it, it means it's that it's attached to a route or queue currently.
You can see which under the "Related to" column.
You will be able to remove it only after disassociating it from the route it was apart of.
Related Articles
Settings - Announcements
To set and create an Announcement, please follow the steps below: Note that the settings tab is visible only to users with administrative privileges Recording File requirements: Bit: 16bit Audio frequency: 8000Hz Audio channels: Mono Type: Wav 1. ...How to create and manage Users
This article will provide you an overview of the Users section and it's functionality as well as how to create users: 1. To create users navigate to the "Users" tab located on the left-hand side of your screen where the menu options are displayed: 2. ...Settings - Queues
To create a queue please follow the steps below: NOTE: You will be able to see the settings tab only if you have admin rights. 1. Click "Settings" to navigate to the settings page on the left hand side of the screen: (You will be able to see the ...Queue Creation & Management
To create a queue please follow the steps below: 1. Navigate to Settings on the left and click on Voice then navigate to the Queues section: 2. Click "New Queue" to create a new queue, you can also edit an existing queue by simply clicking it's name: ...Contacts
1. To add contacts click on Contacts from the menu on the left and click Add Contact: 2. Enter a name for your contact, specify the type whether it should be Internal (Extension) or External number. If you receive Invalid phone number when entering ...